¡Hi,Guys!
Today I will do a tutorial explaining everything what you have to know on having drawn in paint tool sai
The first thing that we
have to do is to create the sketch, does not matter that it goes out badly,
only it serves to base and to give us an idea for our drawing.
So theres my sketch.
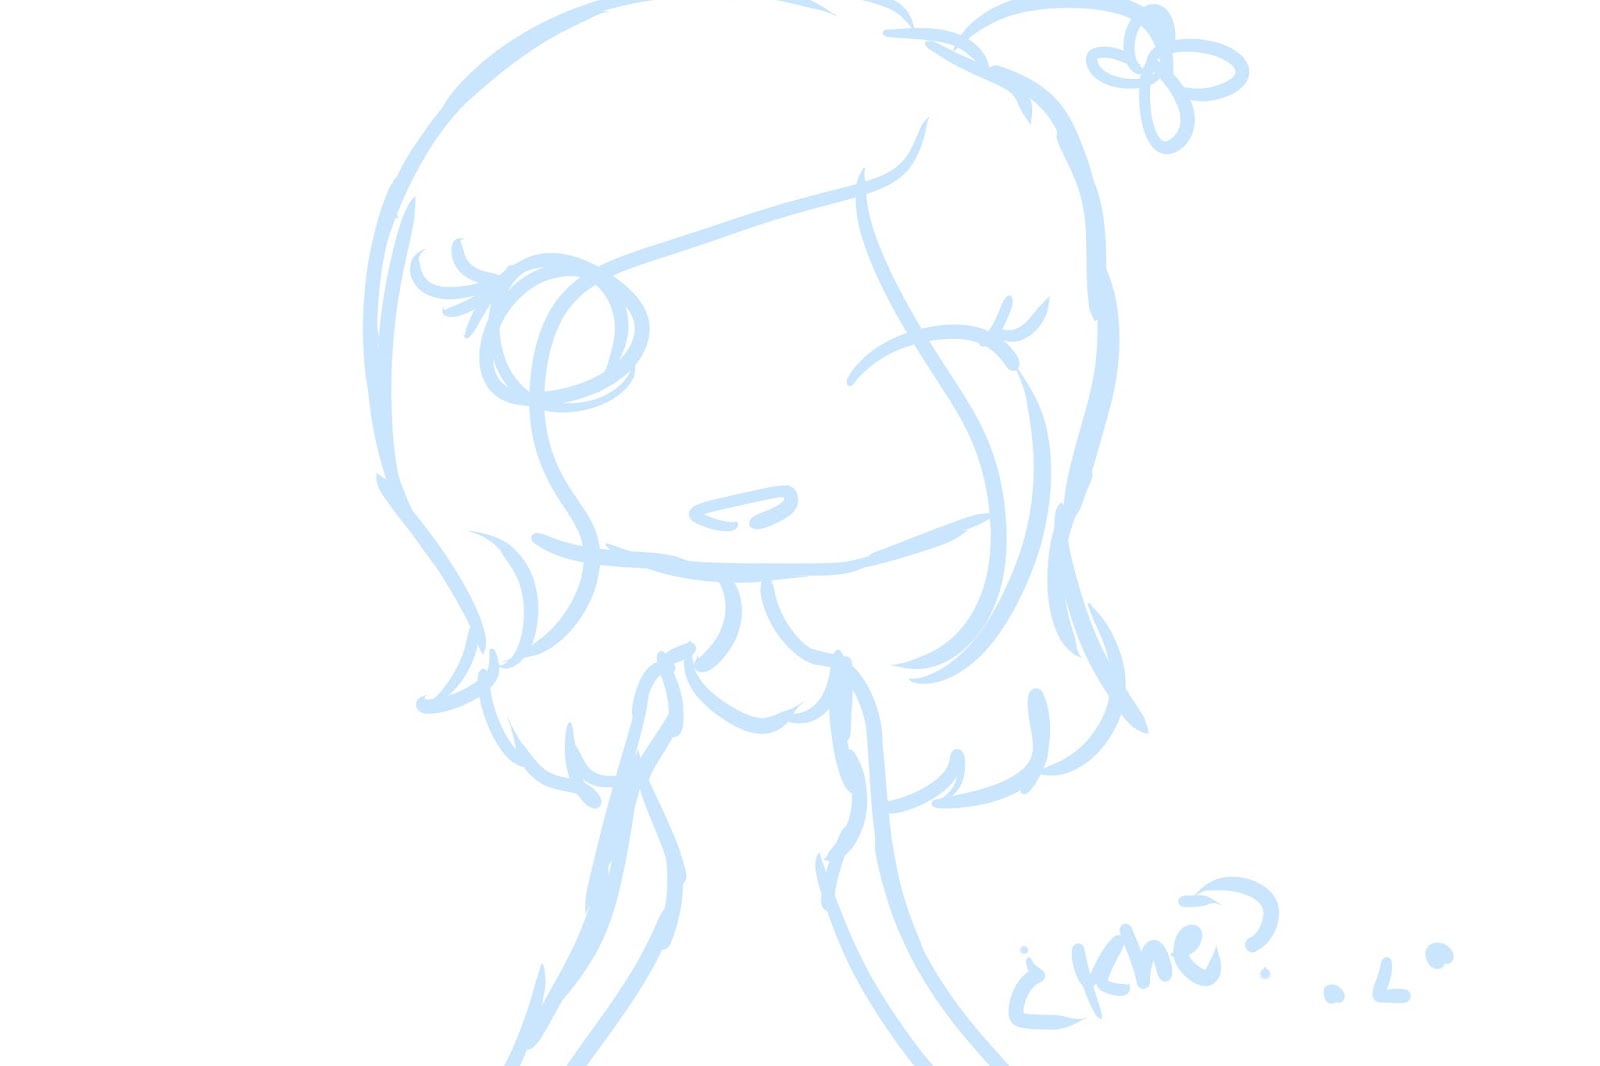
For this i use the tools "Pencil" and "Airbrush"
Step 2.Lineart
When whe have done the
lineart we have to correct the mistakes of the sketch, change
proportionalities, add details and improvements to our drawing. For this stape,
we can use the tool "Curve" or "Pencil". I prefer to use
"Curve".

Step 3. Base Coloring
Before doing to paint and
to add shades, lights and details we need a base for the colors, there we
will base all the tonalities of the shades and lights. For it, we can use
the tool "Magic wand".

Step 4. Shadows
To make the shades for our
drawing we use the same colors of the base but darker, with the tool
"magic barite" we will select the part that we want to paint, We can
use "Pencil" for paint and will blur it with "Water".

And we blur it.

Step 5. Lights
This step is the opposite
to the step 4. To add the sheens or lights we will use the same colors of the
base but clearer.

And, like in the step 4, we blur it with
"Water".

Step 6. Details.
We add details to the
drawing, Like more sheens or shades, some arrangements, different tonalities,
and other things.

Step 7. Background
We add colors, landscape, or whatever you want of
bottom to give him a better touch to your drawing!

¡And we finally finish Our drawing !
¡Thanks for watching! ~
No hay comentarios.:
Publicar un comentario